The Ultimate Rental Walkthrough Checklist for Landlords
Getting tenants settled into your property is about more than signing the lease and setting a move-in date. One key component, that doesn't involve a lot of paperwork, is the property walkthrough.

Ideally done before anyone moves in, and then once again after they move out, this is the time for everyone, landlord and tenant alike, to take note of the state of the property.
Because it's important to check everything, having a rental walkthrough checklist is a big help. Don't rely on your tenants to bring one with them — protect yourself and your property as a landlord with one of your own.
When to do a rental walkthrough with your tenant
There are two times when you should do a walkthrough of your property — right before new tenants move in and immediately after they move out. Keeping both inspections on the same rental walkthrough checklist will enable you to see exactly how well your tenants took care of the property.
The pre-move-in walkthrough helps you take note of starting conditions within the home. You'll note damage that's already there, if any. Then see whether things worsen beyond normal wear and tear once your tenants move out.
Keeping the results of each walkthrough on the same checklist makes it easier to notice these changes. If the doorframe to the bedroom was in pristine condition before move-in but is full of sizable scratches after move-out, you know it's something you can charge your tenants to repair.
Thankfully, with a security deposit from your tenants, it's easy to manage the reimbursement for the repair without having to wait on funds.
How to do a rental walkthrough
Rental property walkthroughs should occur with your tenant(s). This is an opportunity for both of you to protect yourselves against paying for damages you're not responsible for. Your tenant won't want to get charged for issues already present in the home, and you don't want them to contest a repair you believe should get covered with their security deposit.
Once you schedule a time with the tenant, come prepared with your own landlord walkthrough checklist. Your tenant might have one as well, but let them know that your copy, which you'll both sign off on, will go into your files.
As you walk through and observe, take notes, pictures and video to document all conditions that are less-than-normal in the home. Make sure you note the things your tenant notices as well as what you see yourself. It's best to put all the information right onto the checklist so everything is in one place. The pictures can then provide additional evidence should it become necessary later on.
Follow these steps to ensure you complete a thorough walkthrough. You can also jump ahead to download our rental walkthrough checklist.

1. Inspect certain items in every room
No matter what room of the rental you're in, there are certain areas you should always inspect. Most of these suffer from normal wear and tear so take that into account as you go.
You can note small, common imperfections, but only take detailed notes when there's a significant issue. If, for example, the previous tenant left a huge hole in the wall from a heavy mirror they hung, make sure to write that down (and make time to fix it).
In general, you should look at the following in each room:
- Floor
- Walls
- Ceiling
- Doors
- Windows, screens, window frames
- Light fixtures
- Outlets and switches
- Lightbulbs
Make note of anything you can fix or replace immediately and offer to take care of that before the tenant moves in if you can. When you do so, go back to your rental walkthrough checklist and cross it off as an issue.
2. Check for safety
In rooms where it's relevant, you'll also want to check the safety equipment in your rental property. That means testing the smoke detectors and checking to ensure any fire extinguishers haven't expired. This should also be something your tenant is particularly concerned with, since having all the safety equipment in working order directly impacts them and their stuff.
3. Test the plumbing
In bathrooms and kitchens, make sure to look for leaks and water damage while also testing that facets and toilets all work. Inspect tubs and sinks to make sure there aren't any oversized cracks or chips present as well.
If your rental property has a hose hook-up outside, it's best to look at that too. Whether or not you have a hose there, test the faucet to make sure it works and doesn't leak as well.
4. Turn on/off appliances
While you're in the kitchen, test all the appliances with your tenant present. Turn everything on to show them how they work, but also that they work. This includes the stove, oven, microwave if there is one, dishwasher, refrigerator and washer and dryer.
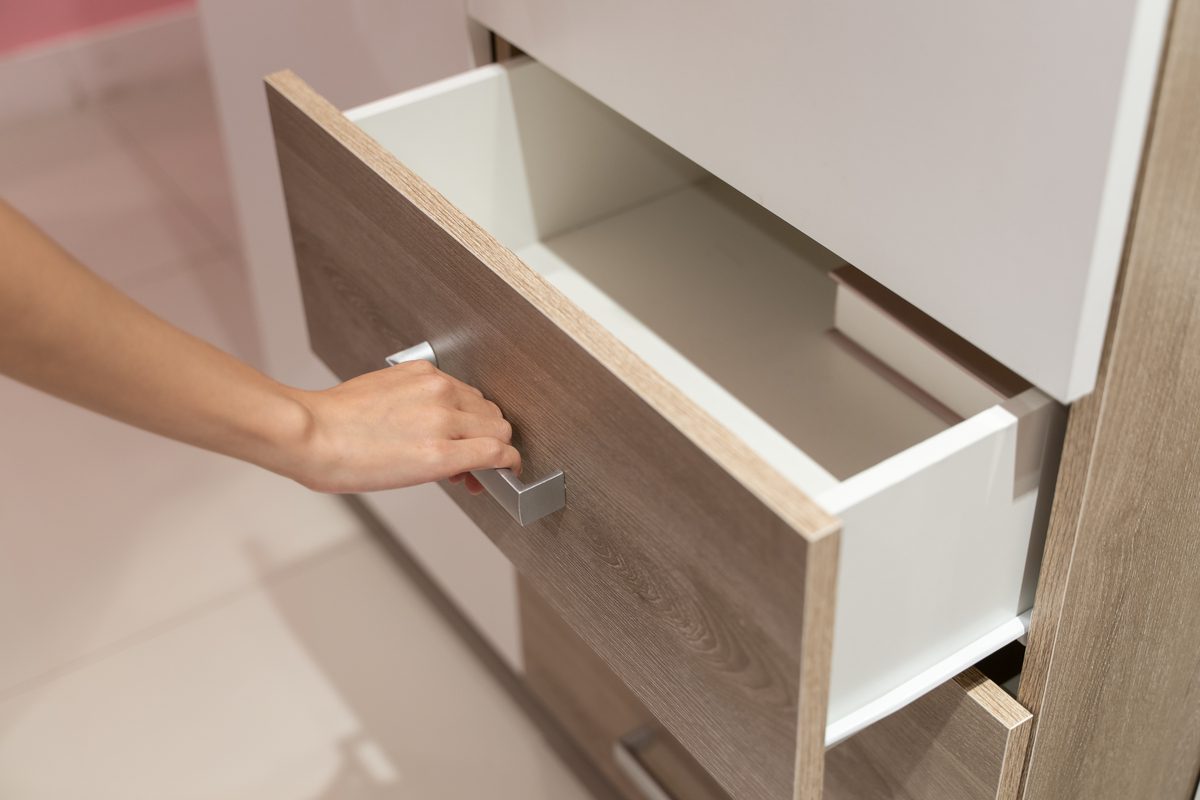
5. Open cabinets and drawers
Since wear and tear can happen anywhere, check cabinets and drawers by opening and closing them all. Make sure pulls and handles are still firmly attached and hinges are working properly. Everything should close all the way and not look like it's about to come loose.
While you're opening these all up, you should also make sure drawers, cabinets and closets are empty. Remove anything you might find, although you don't have to write that on the checklist.
6. Make note of any unique features to your property
If your rental property has any unique features like stairs, a backyard, garage, deck or balcony, make sure they're a part of your walkthrough as well. Note any issues found in those areas and check to make sure everything is nice and safe.
Downloadable rental walkthrough checklist
There's a lot to cover when doing a walkthrough of a rental property. Download this checklist to help you stay focused and not miss anything. Take detailed notes, then have you and your tenant(s)s sign off on the document. This ensures you agree with the condition of the property at the start, and conclusion of the lease.

A perfect rental walkthrough
Conducting a thorough walkthrough of your property both before a tenant moves in and after they move out gets everything noticed. However, it may not be the only time you need to give your property a once-over. Don't discount a mid-lease home inspection should you suspect any issues with your tenants. This lets you make repairs as necessary instead of waiting until the end of a lease term.
No matter how often you need to break out your handy rental walkthrough checklist, a careful eye and attention to detail will help you maintain your property. It also makes it easier to properly assign repair charges where they're due.
